

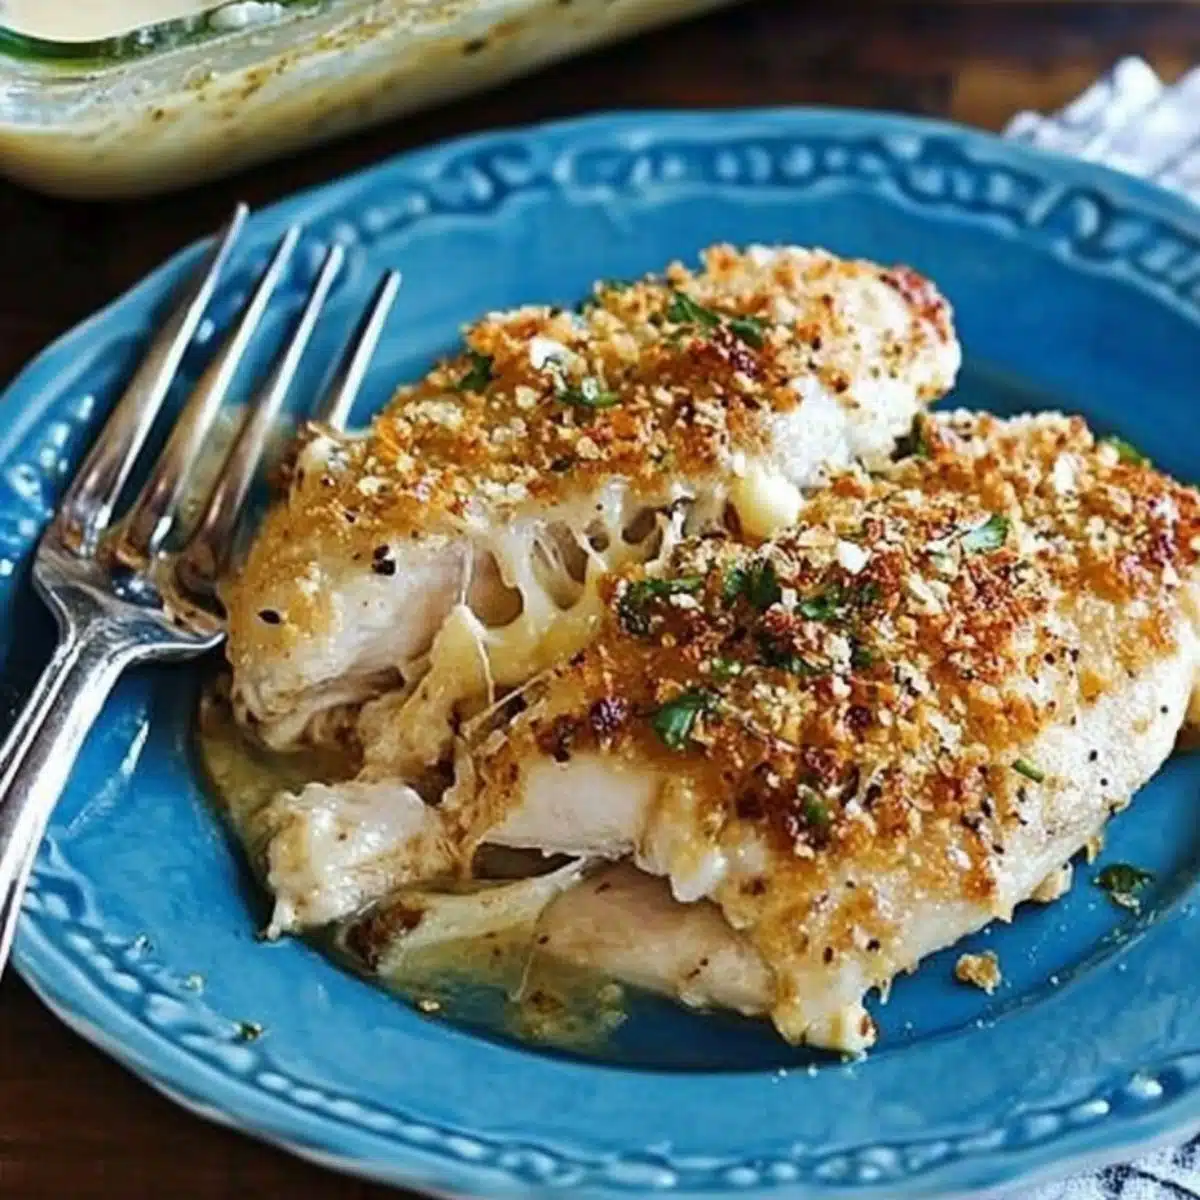
I’ve found that the Not So Impossible Cheeseburger Pie is a breeze to prepare with its simple ingredients and mouthwatering flavors, making it an irresistible weeknight dinner option.
I first stumbled upon the “Not So Impossible Cheeseburger Pie” during a hectic weekday, searching for something that could please both my heart and my time. It was one of those spontaneous kitchen experiments that turned into a cherished family tradition. The blend of savory beef, melty cheese, and a hint of onions had everyone asking for seconds, and I knew it was a keeper.
This recipe holds a special place in my heart not only because it’s easy on the budget but also because it demands minimal effort for maximum reward. Perfect for those busy nights when time is scarce and appetites are big, it offers a unique blend of flavors that mimic the classic cheeseburger, delivering comfort food without the fuss.
Why You’ll Love Not So Impossible Cheeseburger Pie?
- Effortless Execution: The recipe is designed using straightforward cooking techniques, allowing both beginners and seasoned cooks to create a savory masterpiece with confidence.
- Delicious Depth of Flavor: A combination of beef, cheese, and select seasonings brings a rich, hearty flavor profile that captures the essence of a classic cheeseburger.
- Consistency is Key: Using tried-and-true methods, this dish provides consistent results every cook, ensuring that your pie is perfectly savory each time.
- Versatile Ingredients: Enjoy the flexibility of ingredients you likely already have on hand, making it a practical solution for spontaneous cravings or sudden guests.
Ingredients Notes
- Cooking Spray: I ensure my pie releases effortlessly by coating the pan evenly, preventing any sticking or breaking of slices when serving.
- Lean Ground Beef: I choose 80% lean beef for balance; it provides ample flavor while maintaining moisture and avoiding excess fat.
- Large Onion, Chopped: I chop onions finely to ensure they meld into the beef, adding a sweet, caramelized depth to the pie.
- Milk: Using whole milk enhances richness and helps achieve a smooth, cohesive batter texture when mixed with Bisquick.
- Original Bisquick® Mix: I rely on Bisquick for a fail-proof crust that offers a light and fluffy base, supporting the hearty filling.
- Large Eggs: Eggs help bind everything together seamlessly, providing structure and a golden finish to the crust.
- Salt: I add just enough salt to heighten the savory flavors without overpowering the natural taste of beef and cheese.
- Shredded Cheddar Cheese: I opt for sharp Cheddar, which melts beautifully and elevates the classic cheeseburger essence with tangy richness.
How to Make Not So Impossible Cheeseburger Pie?
- Preheat your Oven: Begin by preheating your oven to 400°F (200°C). Proper preheating ensures even baking, resulting in a delightfully golden top.
- Prepare Your Pie Pan: Generously coat a 9-inch deep-dish pie pan with cooking spray. This will allow the Cheeseburger Pie to release effortlessly when serving, maintaining those perfect slices.
- Cook the Beef and Onions: In a skillet over medium heat, cook 1 pound of lean ground beef with chopped onions until the beef is browned and the onions are sweetly caramelized. The aroma should be richly savory, indicating it’s ready.
- Drain Excess Fat: Once cooked, drain any excess fat from the skillet to prevent a greasy dish while maintaining the luscious flavor and texture of the beef mixture.
- Mix the Batter: In a mixing bowl, whisk together 1 cup of milk, ½ cup original Bisquick® mix, and 2 large eggs. Aim for a smooth, lump-free batter; this will encapsulate the beef, creating a cohesive filling. Add ½ teaspoon of salt to boost the natural flavors.
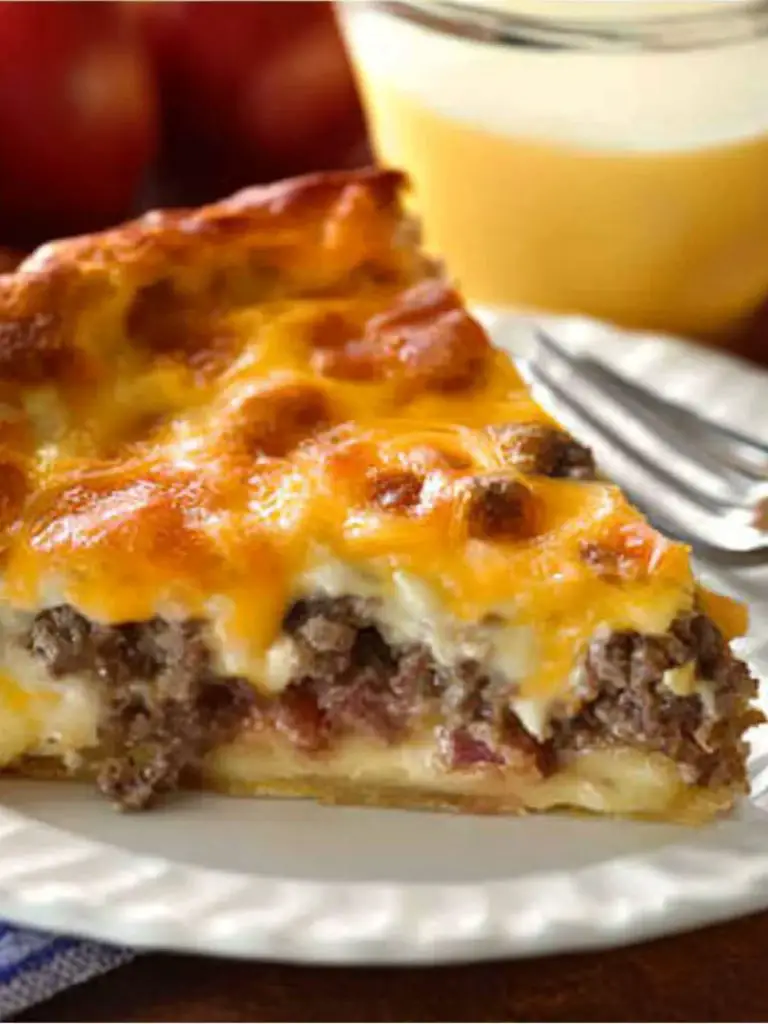
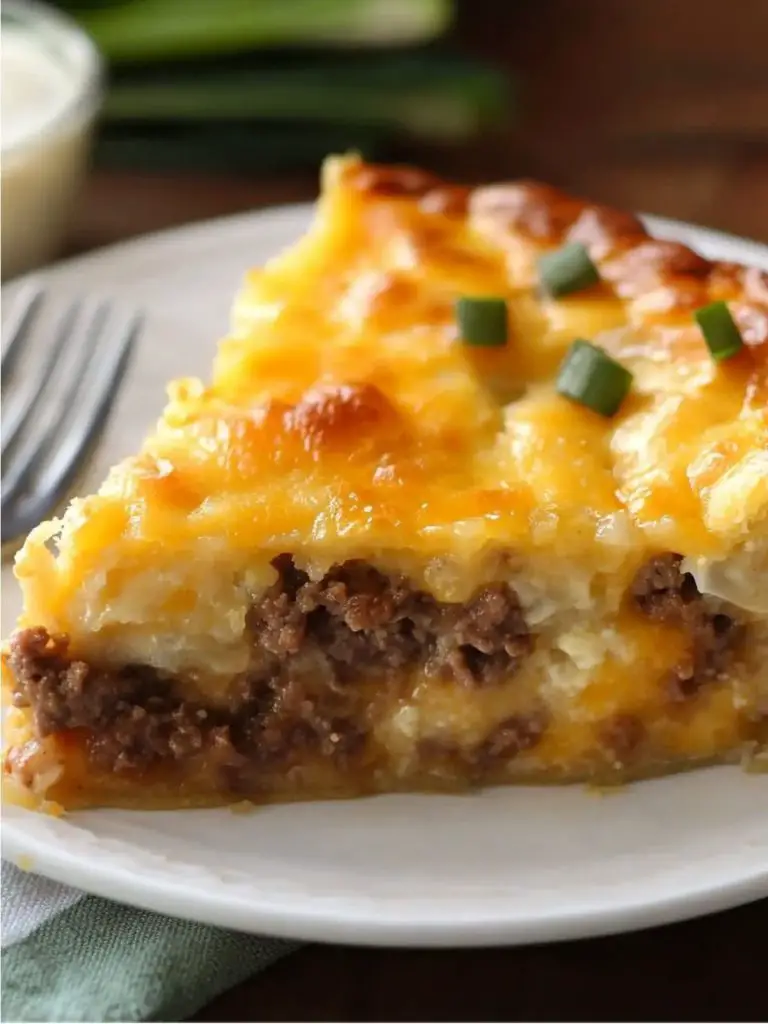
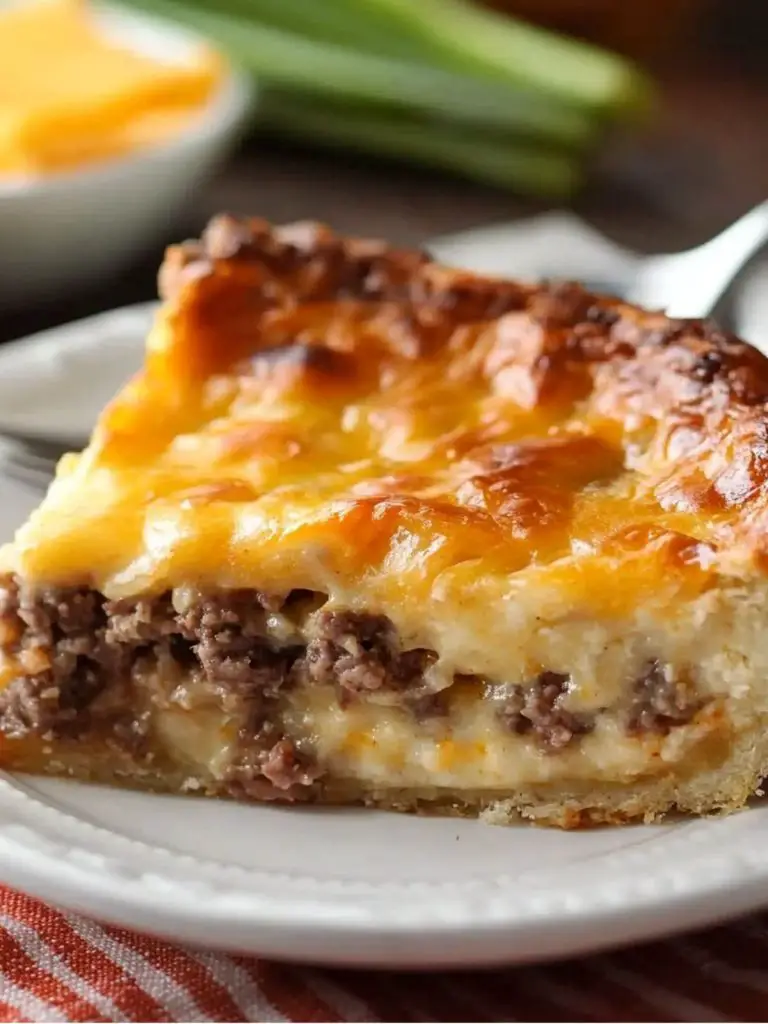
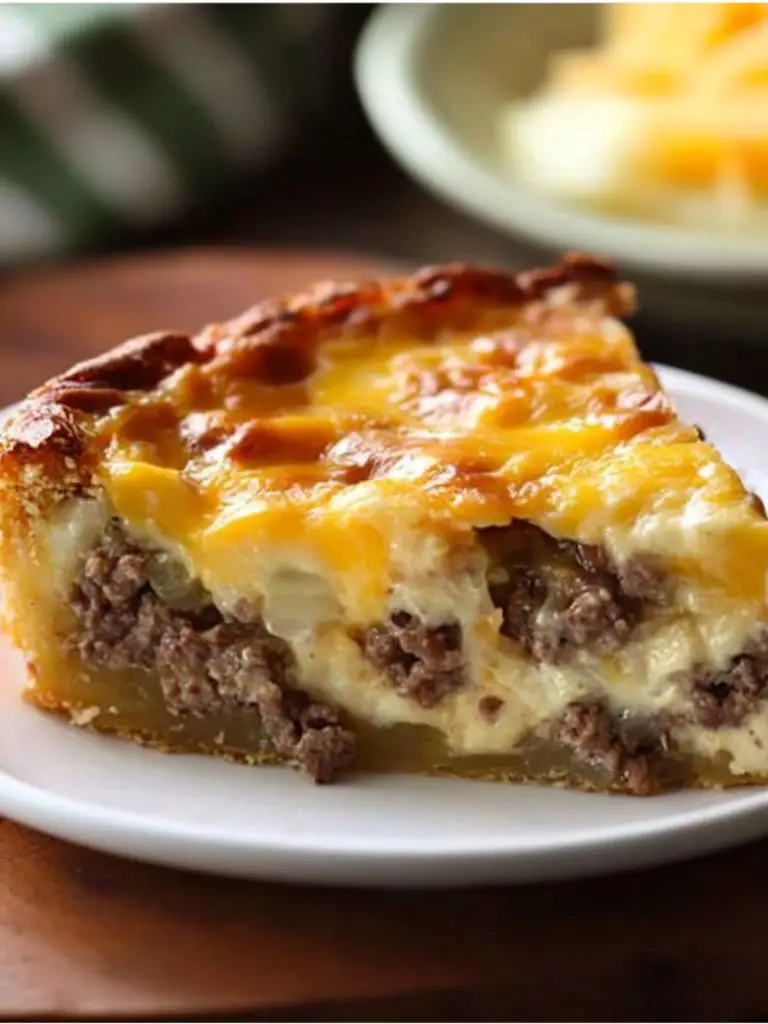
- Assemble the Pie: Transfer the beef and onion mixture to your prepared pie pan, spreading it evenly. Sprinkle 1 cup of shredded cheddar cheese on top to melt into gooey goodness during baking.
- Add the Batter: Pour the Bisquick® batter over the beef mixture, stirring gently with a fork to allow it to soak into every nook, ensuring uniform texture and flavor.
- Bake to Perfection: Place the pie in the oven and bake for 25 minutes or until a knife inserted near the center comes out clean. The Bisquick crust should be golden brown and slightly puffed.
- Cool and Serve: Allow your pie to cool for a few minutes before slicing, permitting the filling to set perfectly. As you cut the first slice, appreciate the balance of the cheesy top, juicy beef, and the tender crust beneath.
Expert Cooking Tips
- I use fresh, lean beef: Choose lean beef to minimize fat and ensure a balanced, juicy pie without being greasy.
- Caramelize for flavor: Take your time cooking onions; caramelization adds depth to the pie’s taste.
- Ensure even layer: Spread beef evenly in the pie pan for uniform flavor and texture throughout.
- Whisk batter thoroughly: I make sure my batter is lump-free to achieve a smooth, consistent crust.
- Avoid overmixing: Gently fold batter into beef to prevent toughness and maintain a light crust.
- Knife check for doneness: Insert a knife near the center; if it comes out clean, your pie is ready.
- Let it rest: Allow cooling time before slicing; this ensures the pie holds its shape when served.
- Cheese for texture: Use freshly shredded cheddar for optimal melt and rich, gooey results.
Storage Tips
- Refrigerate promptly: Store leftover pie in an airtight container in the fridge within 2 hours to maintain freshness.
- Use freezer-safe wrap: Wrap tightly in foil or plastic wrap before freezing to prevent freezer burn.
- Slice before freezing: Cut into portions before freezing for easy reheating and serving.
- Thaw in the fridge: For best results, thaw frozen pie overnight in the refrigerator.
- Reheat gently: Warm in the oven at 325°F for about 15 minutes for even heating and to maintain texture.
- Avoid the microwave: Reheating in the oven prevents sogginess and keeps the crust crisp.
- Mind expiry dates: Consume refrigerated pie within 3 days and frozen pie within 2 months for safety.
- Check for odd odors: Before reheating, ensure there are no strange odors indicating spoilage.
Variations and Substitutions
- Dairy-free option: Replace cheese with dairy-free cheese and milk with almond or soy milk for lactose intolerance.
- Gluten-free version: Substitute Bisquick with a gluten-free baking mix for a celiac-friendly pie.
- Experiment with spices: Incorporate cumin or smoked paprika for a smoky flavor boost.
- Add vegetables: Mix in diced bell peppers or mushrooms for added nutrition and flavor.
- Vegan adaptation: Use plant-based ground meat and egg replacer in the batter for a vegan-friendly pie.
- Lean turkey option: Swap ground beef with lean turkey or chicken for a lighter version.
- Herb enhance: Add freshly chopped parsley or chives for a burst of freshness and color.
- Mix cheeses for depth: Blend cheddar with mozzarella or Monterey Jack for additional flavor dimensions and creaminess.
What to Serve with Not So Impossible Cheeseburger Pie?
- Classic French Fries: Crispy, golden fries offer a delightful crisp texture, perfectly complementing the creamy inside of the pie.
- Garden Salad: A fresh salad with vinaigrette adds a refreshing contrast, balancing the richness of the pie with crisp greens.
- Roasted Vegetables: Seasonal veggies roasted to perfection provide earthy tones, enhancing the savory flavor profile of the cheeseburger pie.
- Coleslaw: Creamy coleslaw adds a crunchy, tangy component that’s perfect for cutting through the richness of the dish.
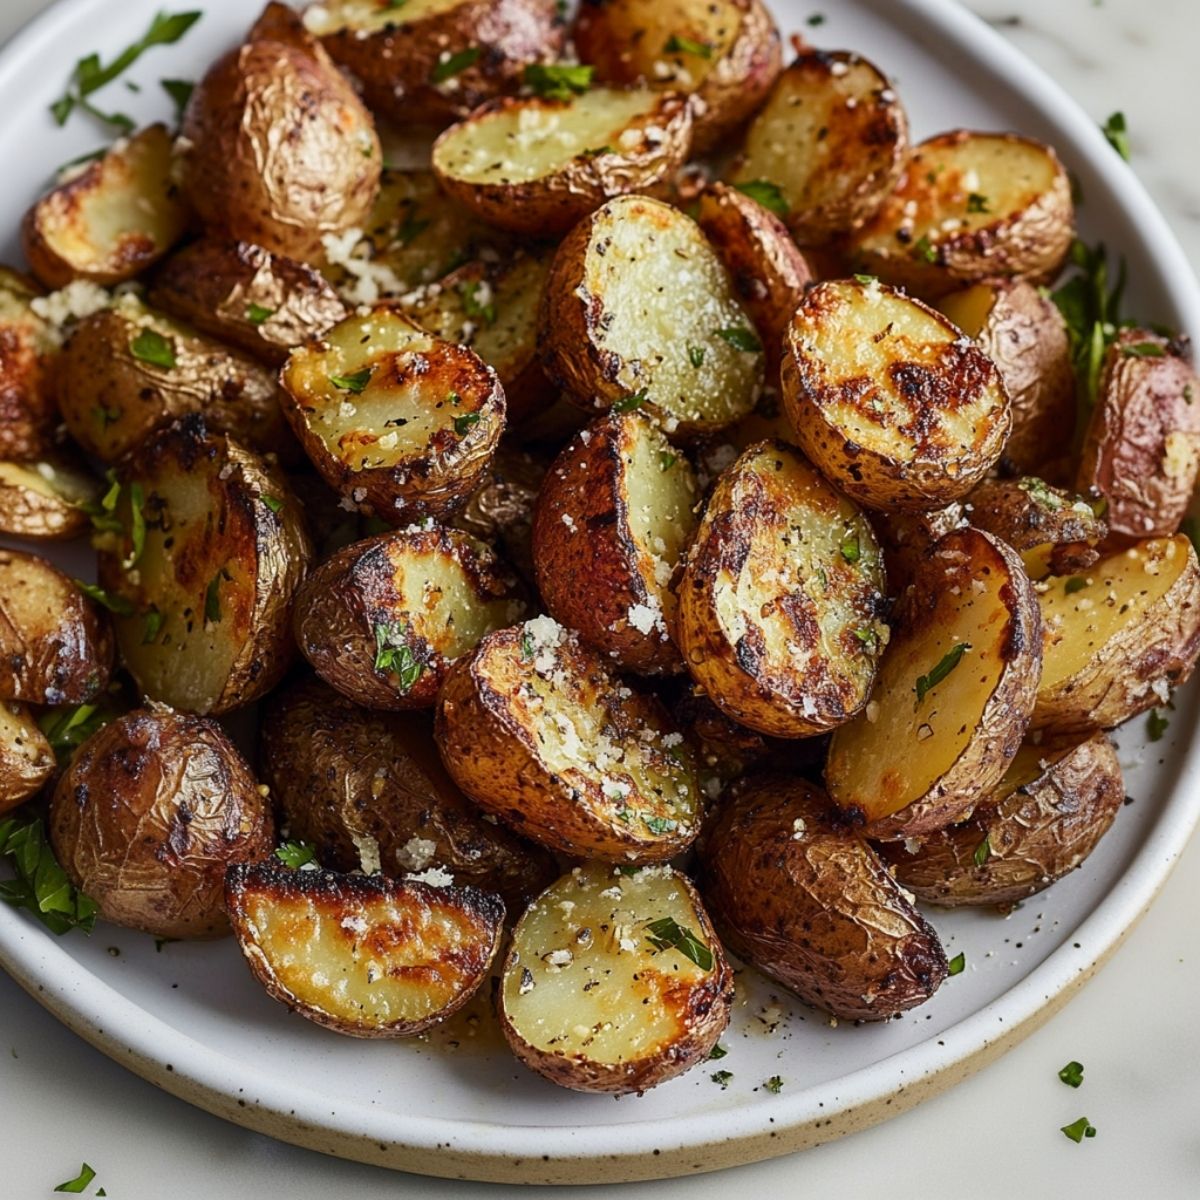
- Garlic Mashed Potatoes: Buttery mashed potatoes with a hint of garlic offer comfort and complement the meaty pie beautifully.
- Grilled Corn on the Cob: Smoky, sweet corn elevates the meal with its juicy crunch and pleasing contrast to the savory pie.
- Baked Sweet Potatoes: Their natural sweetness pairs well with the savory pie, adding a nutrient-rich, hearty side.
- Quinoa Salad: Light, protein-packed quinoa salad delivers a perfect blend of textures and flavors alongside the cheeseburger pie.
- Sautéed Spinach: Lightly cooked spinach with garlic provides a nutritious, flavorful side, enhancing the pie’s complexity.
- Tomato and Mozzarella Caprese: The mozzarella’s creaminess and tomato’s acidity create a balanced pairing with the pie’s rich flavors.
FAQ
How do I prevent a soggy pie bottom?
Can I make it ahead of time?
Why is my pie too dry?
Can this be frozen?
How do I adjust sweetness in variation?

Not So Impossible Cheeseburger Pie
- Total Time: 40 minutes
- Yield: 6 servings 1x
Description
Craving a twist on a classic? Discover how to make an irresistibly easy cheeseburger pie that will transform your dinner routine. Ready to elevate your meal game?
Ingredients
- Use a cooking spray
- 1 pound of lean ground beef (minimum 80% lean)
- and a large onion that’s been chopped
- 1 cup of milk
- half a cup of Original Bisquick® mix
- 2 large eggs, and a half teaspoon of salt
- cup of shredded cheddar cheese for that irresistible cheesy finish
Instructions
- Begin by preheating your oven to 400°F (200°C). Proper preheating ensures even baking, resulting in a delightfully golden top. Prepare your pie pan: generously coat a 9-inch deep-dish pie pan with cooking spray. This will allow the cheeseburger pie to release effortlessly when serving, maintaining those perfect slices.
- Cook the beef and onions: in a skillet over medium heat, cook 1 pound of lean ground beef with chopped onions until the beef is browned and the onions are sweetly caramelized. The aroma should be richly savory, indicating it’s ready. Drain excess fat: once cooked, drain any excess fat from the skillet to prevent a greasy dish while maintaining the luscious flavor and texture of the beef mixture.
- Mix the batter: in a mixing bowl, whisk together 1 cup of milk, ½ cup Original Bisquick® mix, and 2 large eggs. Aim for a smooth, lump-free batter; this will encapsulate the beef, creating a cohesive filling. Add ½ teaspoon of salt to boost the natural flavors.
- Assemble the pie: transfer the beef and onion mixture to your prepared pie pan, spreading it evenly. Sprinkle 1 cup of shredded cheddar cheese on top to melt into gooey goodness during baking. Add the batter: pour the Bisquick® batter over the beef mixture, stirring gently with a fork to allow it to soak into every nook, ensuring uniform texture and flavor.
- Bake to perfection: place the pie in the oven and bake for 25 minutes or until a knife inserted near the center comes out clean. The Bisquick crust should be golden brown and slightly puffed. Cool and serve: allow your pie to cool for a few minutes before slicing, permitting the filling to set perfectly. As you cut the first slice, appreciate the balance of the cheesy top, juicy beef, and the tender crust beneath.
- Prep Time: 10 minutes
- Cook Time: 30 minutes
- Category: Main Dish
- Method: Baking
- Cuisine: American


Leave a Comment