
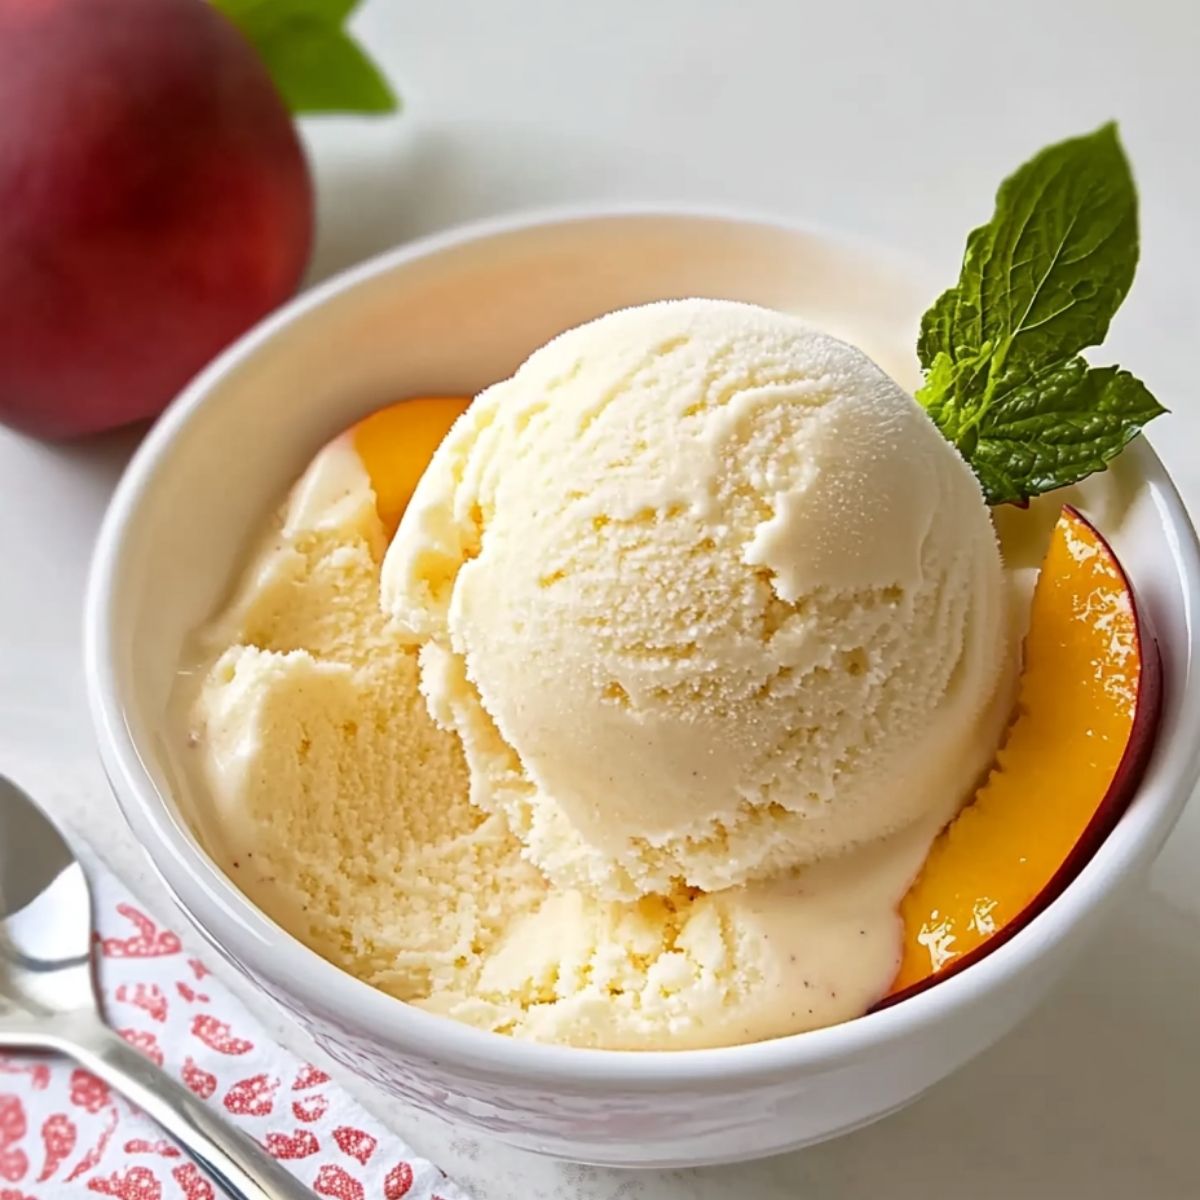
I’ve discovered that homemade ice cream is like a time machine that instantly transports me back to childhood summers. That first spoonful—impossibly creamy, rich, and velvety against your tongue—feels like pure indulgence wrapped in nostalgia. Ever wondered why nothing from the store quite matches what you can create in your own kitchen? I remember the first time I made this recipe during a particularly brutal heatwave; what started as a desperate attempt to cool down became our family’s most requested dessert. There’s something magical about watching just a handful of simple ingredients transform into something so exquisite. Whether you’re celebrating a special occasion or simply survived a Monday, this ice cream deserves a place in your dessert rotation.
Why You’ll Love This Recipe
I believe this homemade ice cream stands out because:
- It balances simplicity and indulgence
- Condensed milk provides sweetness and smoothness without an ice cream machine
- Whipping cream creates tiny air bubbles for heavenly texture
- It achieves professional-quality results for beginners
- The base requires only four ingredients
- It’s a canvas for endless customization
- It proves impressive results can come from simple methods
Ingredients for This Recipe
- Heavy Whipping Cream: I always use cream with at least 36% fat content for that luxurious mouthfeel. The higher fat percentage is crucial—it creates smaller ice crystals which means silkier ice cream.
- Condensed Milk: The magical ingredient that eliminates the need for cooking a custard base. I’ve found its concentrated sweetness and unique proteins create the perfect smooth texture while preventing ice crystals.
- Vanilla Extract: I only use pure vanilla extract rather than imitation—it makes a remarkable difference. The aromatic complexity elevates the entire dessert, creating warmth and depth beneath the sweetness.
- Milk: This helps achieve the perfect consistency. I add it tablespoon by tablespoon to thin the mixture just slightly for a scoopable, not-too-dense final product.
How to Make This Recipe
- Prepare Your Equipment: I start by chilling a metal mixing bowl and beaters in the freezer for at least 30 minutes. Cold equipment helps achieve maximum volume when whipping cream.
- Whip the Cream: Pour the cold heavy cream into the chilled bowl and beat on medium speed until soft peaks form. Then I increase to high speed until stiff peaks appear—the cream should stand tall when the beater is lifted but still look smooth and glossy.
- Mix the Base: In a separate bowl, I combine the condensed milk and vanilla extract until well incorporated. The mixture should be smooth and have a gentle vanilla fragrance.
- Combine Carefully: Using a rubber spatula, I gently fold the whipped cream into the condensed milk mixture with a light hand. I prefer to add the cream in three batches, using a bottom-to-top motion that preserves as much air as possible.
- Adjust Consistency: If the mixture seems too thick, I add milk one tablespoon at a time. The perfect consistency should be like soft-serve ice cream—smooth and billowy, but able to hold its shape.
- Freeze Properly: Transfer to a freezer-safe container with a tight-fitting lid. I cover the surface with parchment paper pressed directly against the ice cream to prevent ice crystals before securing the lid.
- Patience is Key: Freeze for at least 6 hours, though I’ve found overnight results in the best texture. The waiting is the hardest part, but allows the flavors to meld completely.
Expert Cooking Tips
- I always make sure ingredients are as cold as possible before starting. Warm cream won’t whip to proper volume, resulting in dense, less creamy ice cream.
- Avoid over-whipping your cream! I watch carefully for stiff peaks—go too far and you’ll get butter bits in your ice cream. The surface should look like smooth marble.
- When folding ingredients together, I use a rubber spatula and a gentle hand. Quick, harsh mixing knocks out the air bubbles that give your ice cream its luxurious texture.
- For extra smooth results, I often chill the condensed milk too. Temperature harmony between ingredients creates a more uniform freezing process.
- Don’t rush the freezing! I learned the hard way that checking it every hour actually creates more ice crystals. Set a timer for 6 hours and walk away.
Proper Storage
- Store in a shallow, wide container rather than a deep one. I’ve found this allows for more even freezing and easier scooping later.
- Always press parchment directly on the ice cream’s surface before covering with a lid. This double barrier has saved me from freezer burn countless times.
- Keep homemade ice cream at the back of the freezer where temperature is most stable. Front-of-freezer storage with frequent door opening creates temperature fluctuations.
- For optimal texture, I let the ice cream sit at room temperature for 5-10 minutes before serving. This slight softening makes for perfect scoopability.
- Consume within two weeks for best quality. Unlike commercial versions with stabilizers, homemade ice cream’s prime texture has a shorter window.
Variations and Substitutions
- For Chocolate Lovers: I stir in 1/4 cup cocoa powder into the condensed milk mixture, then add 1/2 cup chocolate chips after folding in the cream. The double chocolate approach creates incredible depth.
- Dairy-Free Version: Replace heavy cream with full-fat coconut cream (chilled overnight) and use condensed coconut milk instead. I was amazed how the coconut provides similar fat content for creaminess.
- Lower Sugar Option: I sometimes use low-fat condensed milk and add 1 teaspoon of pure almond extract, which enhances sweetness perception without added sugars.
- Mix-In Madness: Fold in crushed cookies, toasted nuts, or fruit preserves just before freezing. I always swirl them in gently using a knife for beautiful marble effects rather than mixing thoroughly.
- Boozy Twist: Add 2 tablespoons of your favorite liqueur. The alcohol lowers the freezing point slightly, resulting in an extra-creamy texture. My favorite is Kahlúa for coffee-infused elegance.
What Goes with This Recipe
- Warm Fruit Compote: I spoon slightly warm berry compote over cold ice cream for that magical temperature contrast. The fruity acidity cuts through the cream’s richness beautifully.
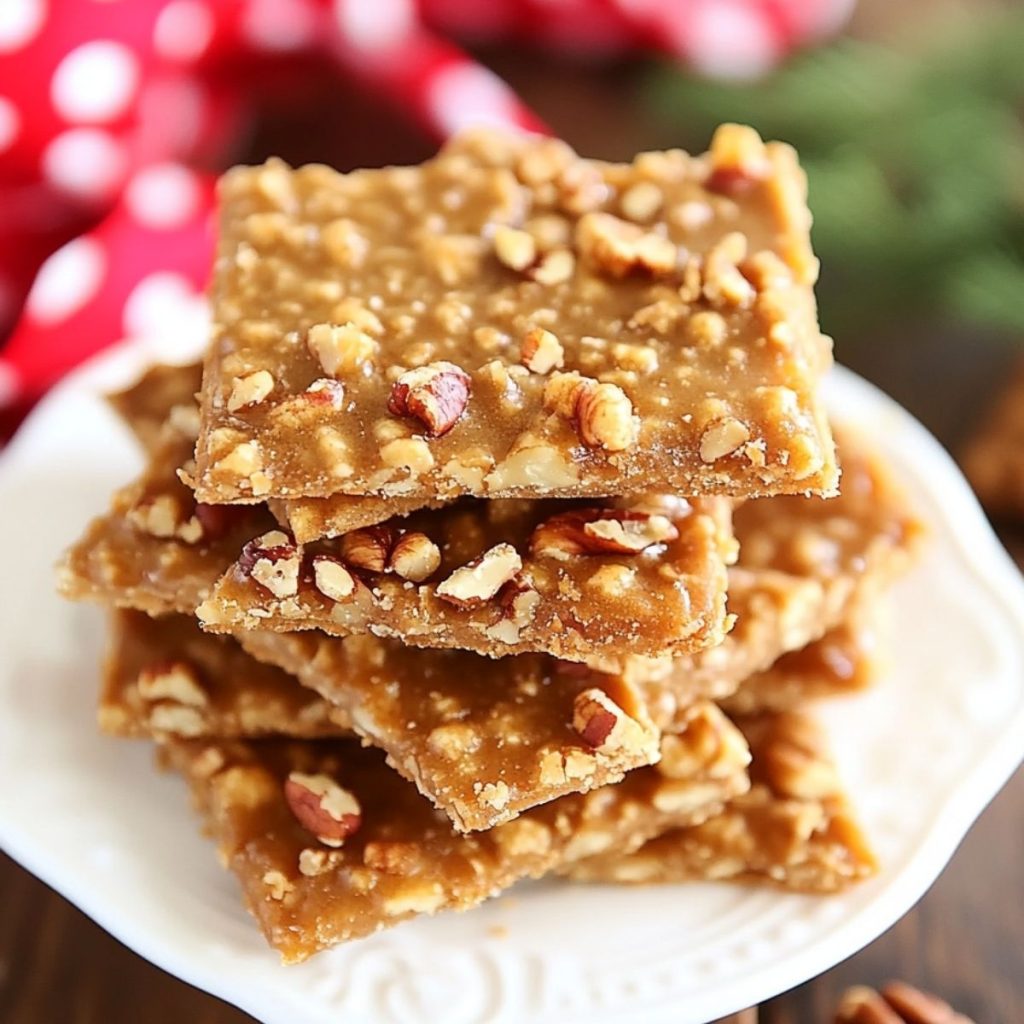
- Toasted Nuts: A handful of buttery, toasted pecans or almonds adds essential textural contrast. I find the warm, aromatic crunch against cold creaminess utterly irresistible.
- Homemade Cookie Cups: Pressed cookie dough into muffin tins creates edible serving vessels. The slightly underbaked centers against frozen ice cream creates textural magic.
- Hot Espresso Pour-Over: Transform it into affogato by pouring a shot of hot espresso over a small scoop. The bitter coffee against sweet cream creates sophisticated balance.
- Salted Caramel Sauce: The sweet-salty combination elevates the vanilla notes. I warm mine slightly before drizzling for that mesmerizing slow-motion pour effect.
FAQ
Can I make this without an ice cream maker? Absolutely! This recipe is specifically designed for no-churn preparation. The whipped cream provides all the necessary aeration.
Why did ice crystals form in my ice cream? Air exposure during freezing is usually the culprit. Always press parchment directly onto the surface before covering with a tight lid.
How long does it take to freeze completely? Minimum 6 hours, but overnight freezing yields the best texture. Patience creates creamier results.
Can I use half-and-half instead of heavy cream? I don’t recommend it. The lower fat content won’t whip properly or create the necessary structure.
How do I achieve a softer, more scoopable texture? Add an extra tablespoon of milk to the base mixture, or incorporate 1-2 tablespoons of vodka which lowers the freezing point.
Print
Homemade Ice Cream Recipe
- Total Time: 6 hours 20 minutes
- Yield: 8 servings 1x
Description
Discover my foolproof homemade ice cream recipe that creates velvety, creamy perfection without an ice cream maker. Just four ingredients and six hours to frozen bliss!
Ingredients
- 2 cups Heavy Whipping Cream (500g)
- 9 oz Condensed Milk (250g)
- 2 tsp Vanilla Extract
- 2 to 3 tbsp Milk
Instructions
- Chill mixing bowl and beaters in freezer for 30 minutes.
- Whip heavy cream to stiff peaks.
- Mix condensed milk and vanilla extract in separate bowl.
- Gently fold whipped cream into condensed milk mixture in three batches.
- Add milk by tablespoon until desired consistency is reached.
- Transfer to container, cover with parchment and lid.
- Freeze at least 6 hours, preferably overnight.
- Let sit 5-10 minutes before serving.
- Prep Time: 20 minutes
- Freezing Time: 6 hours


Leave a Comment